Installation & Setup Tips for BLDC Chimneys
Buying a BLDC chimney is a smart move. But if it’s not installed right, even the best chimney won’t deliver the clean, quiet performance you expect. Think of it like placing a top-notch speaker in the wrong corner of a room—you won’t hear the magic.
In this guide, we break down every critical aspect of BLDC chimney installation, from pre-checks and ducting to power safety and post-setup care. So whether you’re a homeowner or a technician, you’ll know exactly how to get it right the first time.
For the best selection of high-efficiency models, browse our BLDC Chimney collection.
What to Know Before Installing a BLDC Chimney
Pre-Installation Checklist
Before you even unbox the unit, do these checks:
- Electrical Point: Ensure a 15A power socket is nearby, preferably behind or to the side.
- Duct Path: Keep the route short and straight with a direct exit through the wall.
- Wall Strength: Chimney units weigh around 15–20 kg; the wall should handle that comfortably.
- Hob Placement: Place the chimney centrally above the stove to ensure even smoke suction.
- Duct Hole: A 6-inch (150mm) round opening on the wall is ideal for connecting the duct.
Pro Tip: Install after tiling is complete but before sealing countertops. It’ll save you a lot of drilling stress later.
Ideal Height & Positioning for BLDC Chimney
Distance from Stove to Chimney
This is critical for suction power and user comfort.
- Gas Stove: 24–30 inches (60–75 cm)
- Induction or Electric Hob: 21–27 inches
Mounting too high weakens suction. Too low, and you’ll feel heat or get poor air movement.
Center Alignment
Use a measuring tape and level tool to center the hood exactly above your cooking hob. Misalignment leads to smoke escaping from one side and uneven suction.
Step-by-Step BLDC Chimney Installation Guide
Whether you do it yourself or hire a technician, follow this sequence:
- Unbox & Inspect: Look for cracks, dents, or missing parts.
- Mark Drilling Points: Use the template for precise markings.
- Drill & Mount Brackets: Use high-grade wall plugs and steel screws.
- Mount the Chimney: Carefully lift and hang it on the bracket slots.
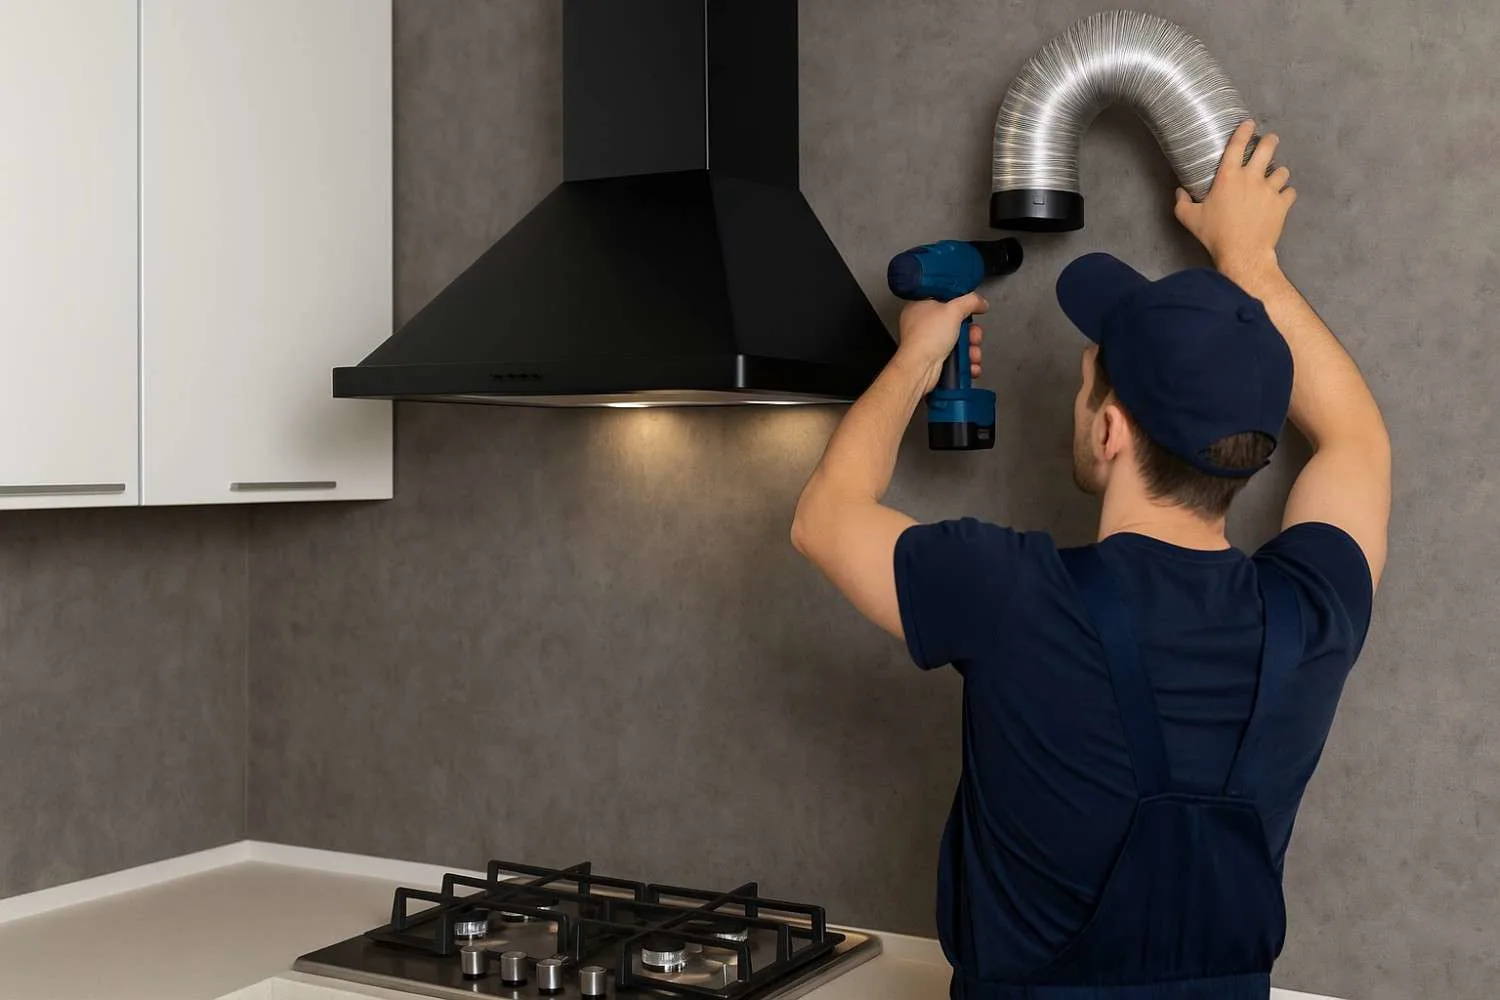
- Connect the Duct Pipe:
- Use a 6-inch aluminum or SS pipe (avoid plastic).
- Keep length under 10 feet.
- No sharp 90° bends—use wide curves instead.
- Use a 6-inch aluminum or SS pipe (avoid plastic).
- Seal Joints: Use metallic aluminum tape—not regular duct tape—to seal joints tightly.
- Install Oil Collector: Especially for auto-clean models, install the collector tray below the motor.
- Connect to Power: Plug into a dedicated 15A socket. Avoid multi-plugs or extension cords.
- Initial Test Run: Run the chimney at various speeds and test for noise, vibration, and suction.
Avoid PVC pipes—they sag over time, trap grease, and increase noise.
Ducting Best Practices for BLDC Chimneys
Efficient ducting = powerful performance. Follow these golden rules:
| Factor | Recommended Setup |
| Duct Diameter | 6 inches (150 mm) minimum |
| Material | Aluminum or Stainless Steel |
| Length | Under 10 feet |
| Bends | Max two gentle 45° curves |
| Outlet Direction | Straight horizontal to outer wall |
| Sealant | Aluminum tape or tight metal clamps |
Never combine chimney duct with bathroom or kitchen exhaust fans. It reduces chimney efficiency and builds pressure inside.
Noise Reduction Tips During BLDC Chimney Installation
If you want whisper-quiet performance:
- Keep duct lines short and free of bends.
- Use vibration pads or rubber washers between the chimney and wall mounts.
- Don’t mount the chimney too close to corners or windows—it reflects and amplifies sound.
- Choose BLDC chimneys with noise levels under 50 dB.
BLDC Chimney Power & Electrical Safety Tips
Safety starts with a proper electrical setup:
- Use a dedicated 15A power line with earthing.
- Socket placement: 1 foot left/right or directly behind the chimney (not directly above the stove).
- No open wires or joints—use sealed switchboards.
- For smart chimneys, ensure strong Wi-Fi signal near the hood.
BLDC Chimney Post-Installation Setup & Testing
Once installation is complete:
- Turn on the unit at minimum speed to check motor vibration.
- Test each speed level.
- Run auto-clean or heat-clean mode to verify heater function.
- Hold a tissue paper near the burners—it should get pulled towards the chimney.
- Check noise levels—ensure it’s under 50–52 dB.
- Inspect duct joints for air leakage.
BLDC Chimney Maintenance After Installation
Keep your BLDC chimney in top condition with these tips:
- Clean oil collector tray every 15–20 days.
- Wipe outer body weekly using a damp microfiber cloth and mild detergent.
- Use auto-clean mode monthly for internal motor chamber hygiene.
- Schedule professional servicing every 6–8 months for duct, impeller, and control board inspection.
Common Chimney Installation Mistakes to Avoid
- Installing too high above the stove
- Using flexible PVC pipe instead of rigid metal
- Sharing chimney duct with exhaust fan or AC line
- Leaving joints unsealed
- Skipping proper earthing
Fixing these mistakes post-installation is expensive and time-consuming. Prevent issues by using certified technicians.
Why Professional Installation Matters
DIY chimney installation might seem easy—but it’s often what you don’t see that causes problems. Poor alignment, wrong duct angle, and loose connections are common culprits behind poor suction and noise complaints.
What Professionals Do Better:
- Correctly mark center alignment.
- Use industry-grade fasteners.
- Route ducts without bends and dips.
- Ensure power and motor safety.
- Validate installation for warranty coverage.
For peace of mind, book your chimney with installation included at Aditya Retail.
Summary: Your BLDC Chimney Installation Checklist
| Step | Task | ✅ |
| Height Check | Maintain 24–30 inches | ☐ |
| Wall Mounting | Use template and steel fasteners | ☐ |
| Duct Pipe Connection | 6” aluminum with sealed joints | ☐ |
| Power Setup | Plug into 15A with earthing | ☐ |
| Function Test | Run speeds, test suction/noise | ☐ |
FAQs
What is the correct height for installing a BLDC kitchen chimney?
24–30 inches for gas, 21–27 inches for electric hobs.
Can I install a BLDC chimney without a duct?
Some models allow recirculation with carbon filters, but ducting is always better for performance.
What type of duct pipe is best for chimneys?
6-inch aluminum or stainless steel rigid pipe.
How long should the chimney duct be?
Ideally under 10 feet with a max of two bends.
Should I use an exhaust fan along with a chimney?
No. It disrupts airflow and reduces chimney efficiency.
Can I install a BLDC chimney myself?
Technically yes, but professional installation is recommended for warranty and safety.
Does improper installation affect suction power?
Absolutely. Ducting angle, height, and power setup all impact performance.
Where should I place the power socket for a chimney?
To the side or behind the chimney—not above the hob.
How do I check if my chimney is installed correctly?
Run all speeds, check suction, inspect duct sealing and noise levels.
Do brands provide free installation for BLDC chimneys?
Some do, especially when bought from trusted platforms like Aditya Retail.